
Blog
Mobile Filmmaking 101: Create Cinematic Reels With Just Your Phone
The democratization of cinema is complete. Ten years ago, the “cinematic look” was gatekept by five-figure camera bodies, expensive cinema lenses, and an entire crew of lighting technicians. In 2026, that barrier has dissolved. The device in your pocket—whether it is the latest iPhone Pro model, a Google Pixel, or a Samsung Galaxy—houses sensor technology and computational photography algorithms that rival dedicated broadcast cameras from a decade ago. We are seeing feature films, award-winning documentaries, and millions of viral Reels shot entirely on mobile devices. The difference between a shaky amateur clip and a cinematic masterpiece is no longer the gear; it is the technique.
Creating cinematic Reels is about mastering the language of visual storytelling within the constraints of a vertical frame. It requires a shift in mindset from “capturing a moment” to “crafting a scene.” Mobile filmmaking has its own set of rules, strengths, and weaknesses. The small sensor size means you cannot rely on optical bokeh (background blur) in the same way a cinema camera can, but the form factor allows you to place the lens in places a RED camera could never fit. This guide will strip away the jargon and focus on the practical, actionable steps to transform your phone footage into compelling, high-quality content that stops the scroll.
Understanding Frame Rates and Resolution
Before you press record, you must dive into your phone’s settings. The default settings on most smartphones are optimized for storage saving and sharpness, not cinematic motion. The “soap opera effect”—that hyper-realistic, jarringly smooth look—comes from shooting at 60 frames per second (fps). While 60fps or higher is excellent for gaming or slow motion, it kills the cinematic illusion for standard playback.
For that classic film look, you need to shoot at 24fps (frames per second) or 25fps. This frame rate has been the industry standard for over a century because it closely mimics the way the human eye perceives motion blur. Most modern smartphones allow you to toggle this in the camera settings. If your native camera app locks you into 30fps, consider investing in a third-party app like Blackmagic Camera or Filmic Pro, which unlocks these specific manual controls.
regarding resolution, 4K is non-negotiable. Even if the final platform (Instagram or TikTok) compresses the video to 1080p, shooting in 4K gives you the freedom to crop, zoom, and stabilize your footage in post-production without losing quality. It provides a sharper, more detailed source file that retains its integrity better than native 1080p footage after the aggressive compression algorithms of social media platforms.
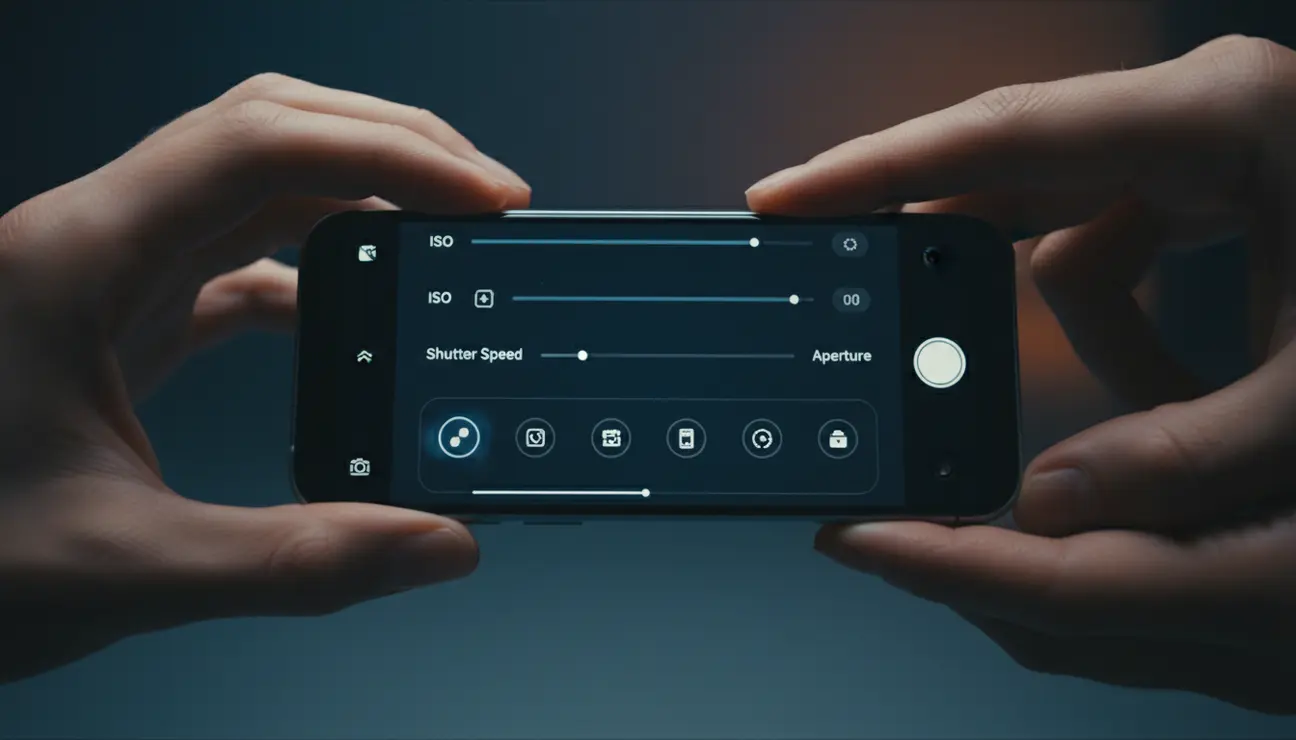
The Holy Trinity of Exposure: ISO, Shutter, and Aperture
On a mobile phone, “Aperture” is usually fixed (the lens hole doesn’t open or close mechanically), so you are left juggling ISO and Shutter Speed. The biggest mistake mobile filmmakers make is letting the phone decide these settings automatically. The phone’s auto-exposure is designed to make everything bright and visible, which often leads to grainy, flat, or jittery footage as it rapidly adjusts to changing light.
Lock your exposure. On most phones, this is done by tapping the screen on your subject and holding until an “AE/AF Lock” banner appears. Then, slide the sun icon down to slightly underexpose the image. Cinematic footage often favors the shadows; it is moodier and retains more detail in the highlights (the bright parts of the sky) which smartphones are notorious for “blowing out” into pure white.
Ideally, you want to keep your ISO as low as possible (usually 50 or 100). High ISO introduces digital noise—that ugly, colored grain that ruins the clean look of a video. If the scene is too dark, do not crank the ISO; add light to the scene. For shutter speed, the “180-degree shutter rule” applies even to phones: your shutter speed should be double your frame rate. If you shoot at 24fps, your shutter should be 1/48th (or 1/50th) of a second. This creates the natural motion blur that makes movement feel smooth rather than staccato.
Lighting: The Difference Between Amateur and Pro
You can shoot on an $80,000 ARRI Alexa, but if the lighting is bad, the footage will look bad. Conversely, an old iPhone 11 can look incredible if the lighting is sculpted. Mobile sensors are tiny, meaning they struggle in low light. They crave photons. The most “cinematic” lighting is rarely the flat, overhead light of a ceiling fixture. It is directional, soft, and creates contrast.
When shooting indoors, turn off the overhead “big light.” Instead, position your subject near a window. Window light is essentially a giant softbox. Place your subject so the window is to their side or at a 45-degree angle. This creates “Rembrandt lighting,” where one side of the face is illuminated and the other falls into shadow, creating depth and dimension. If shooting at night, use a practical lamp placed close to the subject’s face, or a portable LED panel.
Avoid shooting with the light source directly behind your subject unless you want a silhouette. This confuses the phone’s sensor, causing the subject to become pitch black while the background is properly exposed. Always prioritize the light on the human face. If you want to elevate your game, use “negative fill.” Place a black sheet or board on the shadow side of your subject (opposite the window). This absorbs excess light, deepening the shadows and making the image look more dramatic and rich.
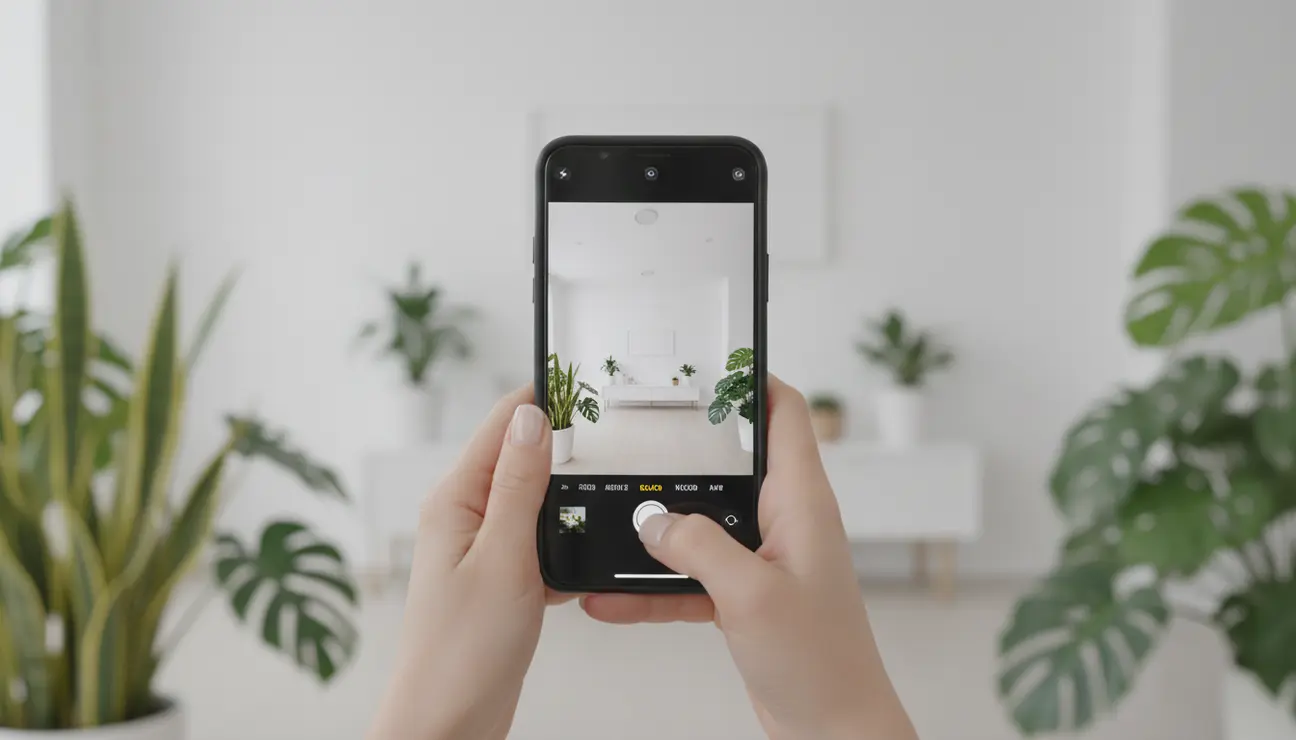
Composition and the Vertical Canvas
Cinematic composition rules like the Rule of Thirds still apply to vertical (9:16) video, but the vertical format requires a different approach to “headroom” and leading lines. In a wide horizontal shot, the environment is the character. In a vertical Reel, the subject is the hero. The frame is tall and narrow, which is perfect for capturing the human body or towering architecture, but poor for landscapes.
Fill the frame. Don’t be afraid to get close. A common mistake is leaving too much empty space above the subject’s head (dead headroom). In vertical video, the eyes of your subject should be in the top third of the screen. This feels more intimate and engaging. Use the “grid” overlay in your camera settings to help you align these shots.
Depth is the secret sauce of cinematic composition. A flat image looks boring. Create layers in your shot: a foreground, a middle ground (your subject), and a background. Place something close to the camera lens—a leaf, a doorframe, a coffee cup—to create a blurry foreground element. This “frame within a frame” technique adds a sense of voyeurism and three-dimensionality, drawing the viewer’s eye deeper into the image.
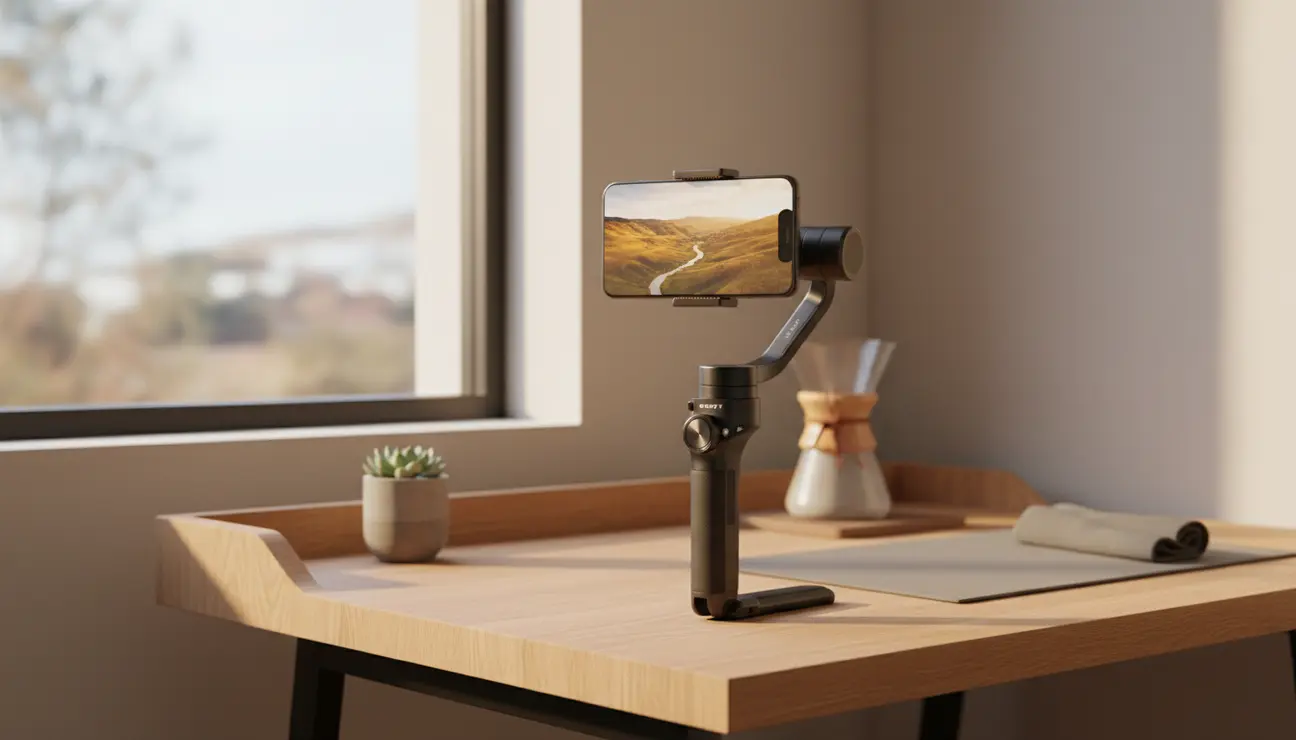
Movement: Stabilize vs. Handheld
Shaky footage screams “home video.” Cinematic footage is intentional. While dedicated gimbals (stabilizers) are fantastic tools, modern phones have incredible internal stabilization (OIS and EIS). You can achieve smooth, gimbal-like shots simply by changing how you walk. This is known as the “ninja walk.” Bend your knees, keep your elbows locked tight to your ribs, and roll your feet from heel to toe. This absorbs the vertical bobbing motion of your steps.
However, “cinematic” doesn’t always mean perfectly smooth. Handheld movement can add energy and urgency to a scene. The key is that the movement must be motivated. Don’t just wave the camera around. Follow the action. If your subject walks left, pan left. If they stand up, tilt up.
Parallax is a powerful move for mobile phones. Instead of panning (standing still and twisting), try “trucking” (physically moving the camera left or right past the subject). Because phone lenses are wide, moving the camera physically creates a strong parallax effect where the background seems to move at a different speed than the foreground, emphasizing the depth of the space.
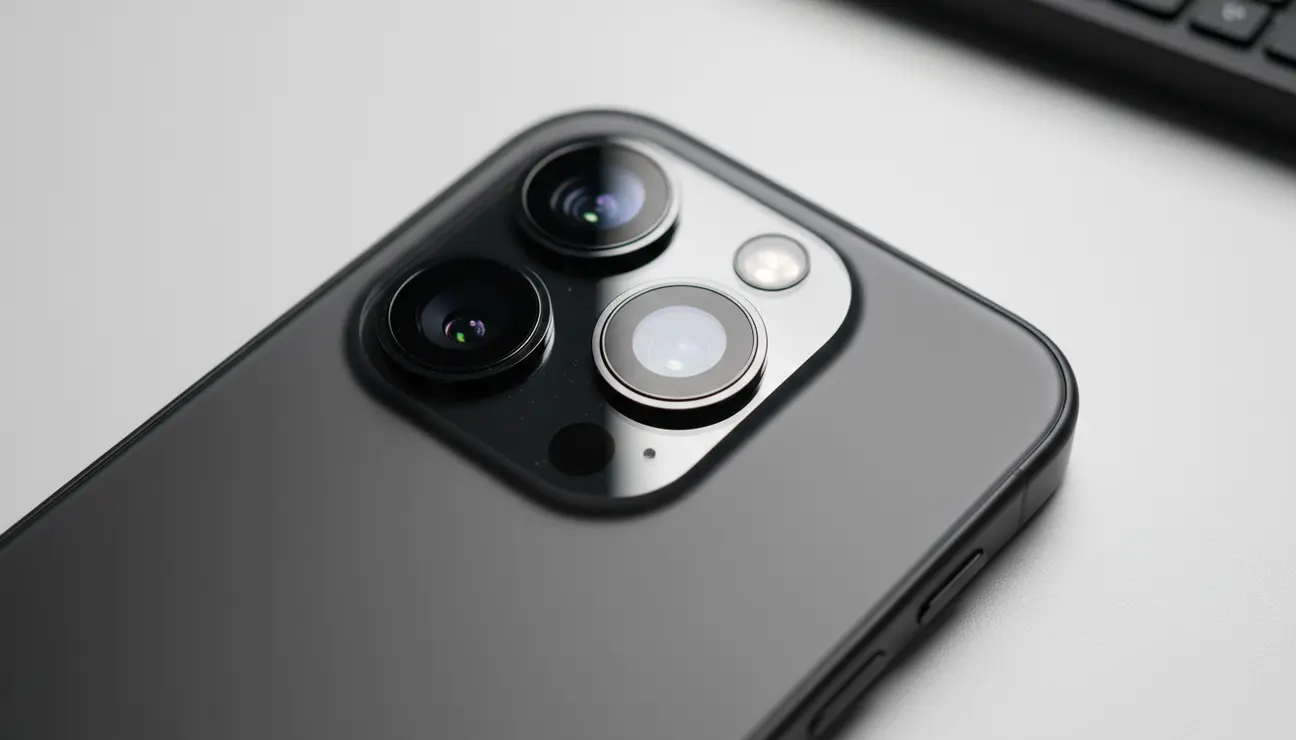
The Power of the Lens: 0.5x, 1x, and 3x
Your phone likely has three cameras on the back: Ultra-Wide (0.5x), Wide (1x), and Telephoto (3x or 5x). Knowing which lens to use for which emotion is crucial.
- Ultra-Wide (0.5x): This lens distorts the edges and makes spaces look massive. It is high energy. Use it for action shots, point-of-view (POV) travel vlogs, or establishing shots of architecture. Do not use this for close-up portraits, as it will distort facial features, making noses look large and heads look alien.
- Wide (1x): This is your standard storytelling lens. It is versatile and usually has the best sensor quality and low-light performance. Use this for general coverage and medium shots.
- Telephoto (3x/5x): This is your “cinema” lens. It compresses the background, making it appear closer to the subject. This compression is flattering for faces and helps isolate the subject from a messy background. If you want that blurry background look (depth of field) without using fake “Cinematic Mode” software, step back and use the 3x lens. It naturally creates more separation.
Audio: The Invisible Half of the Movie
Bad video is forgivable; bad audio is unwatchable. The internal microphone on your phone is omnidirectional—it picks up wind, traffic, and the echo of the room just as loudly as your voice. For a cinematic Reel, you need crisp, isolated audio.
If you are recording dialogue, get the phone close to the subject. If you can’t, invest in a small wireless microphone system (like the DJI Mic or Rode Wireless) that plugs directly into your phone’s charging port. These clips onto the shirt and deliver broadcast-quality voice isolation.
For “B-roll” (visual montage shots), sound design is critical. Do not just slap a trending song over your clips and call it a day. Record the natural sounds of the environment—the coffee pouring, the footsteps, the city ambience. Layering these “foley” sounds underneath the music grounds the video in reality. It creates texture. Viewers might not consciously notice the sound of the wind in the trees, but they will feel the scene is more immersive because of it.
Editing: Pacing and Storytelling
You have shot beautiful clips; now you must assemble them. Editing is where the story is written. Apps like CapCut, VN Editor, or InShot are powerful enough to edit 4K footage with professional transitions and color grading.
The golden rule of Reels editing is: Cut on motion. Don’t wait for the action to finish before cutting to the next clip. Cut while the movement is happening. If someone is turning their head, cut to the next angle while they are still turning. This makes the edit feel invisible and keeps the energy flowing.
Color grading is the final polish. Phone footage often looks overly saturated and sharp. In your editing app, reduce the “Sharpening” slightly to take off the digital edge. Add a subtle “S-curve” to the brightness—lift the highlights slightly and lower the shadows slightly to add contrast. Apply a consistent filter or Look Up Table (LUT) across all your clips so they feel like they belong to the same world. Consistency is key to the cinematic aesthetic.
The Final Export
You have done the work; don’t ruin it at the finish line. When exporting for Instagram or TikTok, settings matter. While you shot in 4K, most social platforms struggle to compress 4K files efficiently, often resulting in a muddy upload. It is often better to export your final edit in 1080p at high bitrate.
Ensure your export frame rate matches your shooting frame rate (24fps or 25fps). Turn on “Smart HDR” or “HDR” toggles off in your export settings unless you really know what you are doing; HDR video often looks blown out and strange on screens that aren’t compatible. Finally, before you hit post, make sure “Upload at Highest Quality” is toggled on in your Instagram/TikTok app settings.
Mobile filmmaking is about resourcefulness. It is about seeing the light, framing the world with intention, and using the limitations of the device as a creative constraint. The camera in your pocket is capable of capturing magic—you just have to learn to speak its language.